- Start
- 1. Getting Started
- 2. Using Conat
- 3. Blog
- 4. Theme Options
- 5. Pages
- 6. Events
- 7. Speakers
- 8. Testimonials
- 9. FAQs
- 10. Widgets
- 11. Menus
- 11. Custom Shortcodes
- 12. Contact Form 7
- 13. Support
Copyright @ ThemeRange 2023
Welcome to Conat - Events & Conference WordPress Theme
Once you've downloaded the installation file on ThemeForest, extract it and locate a file called conat.zip. You can install the theme by using one of two installation methods:
Once installation is complete, your Conat theme will be ready to use. You can see ( Go to admin panel > Appearance > CONAT Options ) appear in the WordPress admin panel.

You should also see a notification at the top of the screen that required plugins need to be installed. Please install and activate all of the required plugins, since they are necessary for the theme to function properly.
Great - you can now start building your site!
In order to activate your copy of Conat, you should input your purchase code and email address, and thus effectively register the theme. To do this, please navigate to Conat Dashboard > Conat Dashboard and input the required information there.
You can obtain your purchase code by following these steps:
With the Conat theme, you have the option to either start creating your site from scratch, or choosing to import one of the included demo sites to use as a starting point, and then modifying it to suit your needs. In this section we will explain how to do the latter.
Conat comes with a one-click import module. To import one of the included demo sites, please follow these steps:

If you plan on building an online shop with Conat, please read the WooCommerce section of this user guide before importing the demo content.
If you plan on using contact forms on your website, you should instal the Contact Form 7 plugin before importing the demo content so you recieve the contact forms from your chosen demo site. For more information on how to install Contact Form 7, please read the Contact Form 7 section of this user guide.
You can now enable the Auto-Updating feature for Conat. To do this, please first make sure that you have the Envato WordPress Toolkit plugin installed. If you haven't already installed this plugin, you should see a notification on the top of your Dashboard stating that some required plugins haven't been installed or activated. Install and activate all of the required plugins, including the Envato WordPress Toolkit.
After you have installed and activated the Envato WordPress Toolkit, please go to Envato Toolkit from your dashboard and enter your Marketplace Username and API Key. You can find your API Key by logging into your profile on Themeforest and navigating to Profile > Settings > API Keys.
When you have entered your Marketplace Username and API Key and clicked Save Settings, a new tab will appear at the top of the screen named "Themes". Click on this tab to see all the themes you have purchased. If there is an update available for a theme, you will be notified here. To update your theme, just click on the "Update Automatically" link.
Please note that each time you use the Auto-Update feature to update the theme, a backup file of the old version of the theme will be stored on your server in ".../wp-content/envato-backups".
You can update your theme manually by performing the following steps:
WordPress by default has a limited number of menu items. When you import our demo site, which contains a lot of menu items, you might not be able to save changes you make to a menu. You can fix this problem by contacting your hosting and asking them to add the following lines to php.ini file:
            suhosin.post.max_vars = 5000
            suhosin.request.max_vars = 5000
This problem is most likely related to JetPack and memory settings of your hosting. You can either disable JetPack or read what the JetPack developer wrote: Regarding the memory limit, please refer to the WordPress Codex section concerning this problem. Some sites that load many plugins alongside WordPress ultimately require a higher memory limit than WordPress defaults to, but since this is limited to specific hosts and configurations, it must be dealt with on an individual basis. You'll find the Codex article at: https://codex.wordpress.org/Common_WordPress_Errors#Allowed_memory_size_exhausted
Please use this tool to investigate reasons for slow loading: https://developers.google.com/speed/pagespeed/insights/?hl=en
If you get a white screen or some other error when trying to import our demo content, this probably happens because of the maximum execution time limit. You need to increase the maximum execution time (upload time) setting of your web server. The default maximum execution time on web servers is 30 seconds. Please increase it to 120 seconds. Possible ways of achieving this are:
Ask your hosting provider to take care of this for you.
Once you've installed Conat, you can start building your site.
One of the first things you might want to do is to set up the header area. This section contains the logo, menu, search bar, side area icon, and other optional widgets.
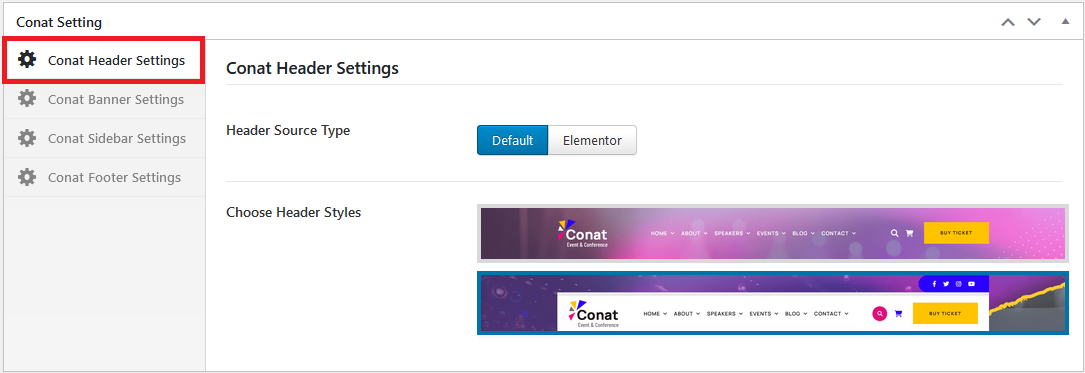
To set it up, go to CONAT Options > Header from the admin panel. The settings you define here will be the default settings for all pages on your site. If you need help with any of the options, please refer to CONAT Options in this user guide. Some options, such as the header skin and background color, can be overridden on the page level by going into the page's backend. For more information on how local page settings work, see Pages.
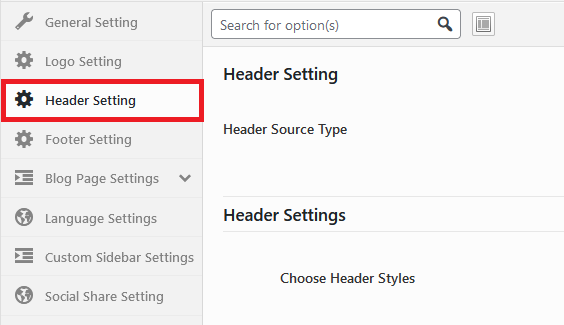
The settings you define here will be the default settings for all pages on your site. Make sure that Header V1, Header V2 and Header V3 are selected. If you need help with any of the options here, please refer to CONAT Options in this user guide.

The settings you define here for specific page on your site. Make sure that Header V1, Header V2 and Header V3 are selected. Metabox Header selection are most priority then ( Appearance > CONAT Option > Header Setting ).
Now let's add a logo. Go to CONAT Options > Logo from the admin panel and click the upload button next to the "Logo Image - normal" field. You should now have a visible logo in your header area. you can upload sticky and mobile menu.
![]()
![]()
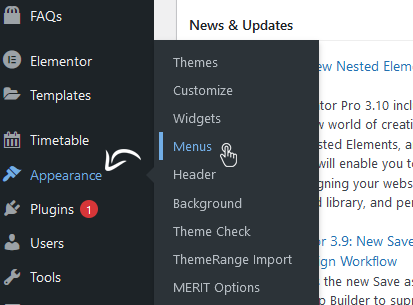
To create a menu, go to Appearance > Menus from the admin panel. Click on "Create a new menu." Enter a name for your menu, and then click on "Create Menu".
Every page that you've created up until now will be listed in the section on the left called Pages. Simply check the ones that you want added to the menu, and then click on the "Add to Menu" button. Once added, you can click and drag the menu items to rearrange them, or nest them one under the other.
Underneath the menu items, under the section Menu Settings, check "Top Navigation" and click "Save Menu" in order to activate the menu you've just created. You should now have a functional menu on your pages.

Now let's set up the footer by going to CONAT Options > Footer from the admin panel.

The settings you define here will be the default settings for all pages on your site. Make sure that Footer V1, Footer V2 and Footer V3 are enabled. If you need help with any of the options here, please refer to CONAT Options in this user guide.

The settings you define here for specific page on your site. Make sure that Footer V1, Footer V2 and Footer V3 are selected. Metabox Header selection are most priority then ( Appearance > CONAT Option > Header Setting ).

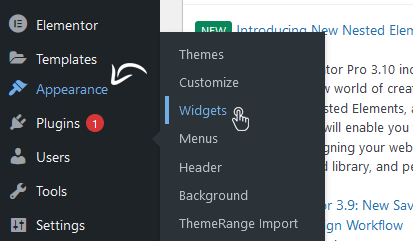
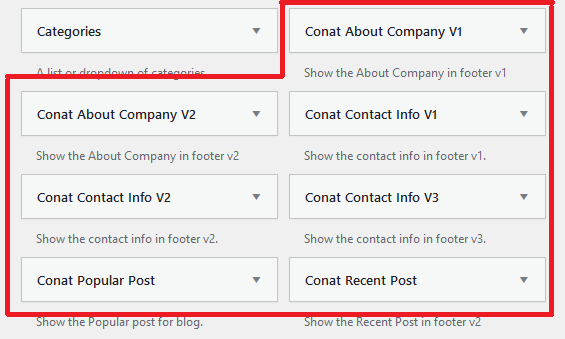
To add content to your footer, you need to activate widgets by going to Appearance > Widgets from the admin panel. On the right side of your page are widget areas for the footer, named Footer Widget. On the left side of your page are the available widgets. Simply drag the widget you'd like to one of the Footer widget areas on the right.
To add content to the footer bottom, add widgets to one of the Footer Bottom widget areas.

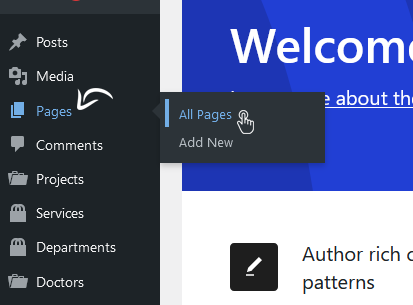
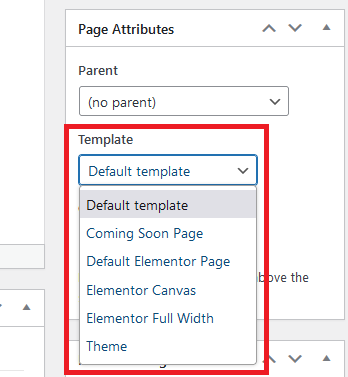
To create a new page, go to Pages > Add New from the admin panel. Enter a title for your page in the text field near the top of your screen. Then choose the "Default Elementor Page" template for your page in the section on the right called Page Attributes. This will allow you to have sections on your page that go across full width of the screen.
Now let's start adding shortcode to your page. Make sure that you're in the elementor builder. If the blue button on the center of the content says Edit with Elementor, click it to enable the Elementor Builder. Once you're in backend, the button will say CLASSIC MODE. You can now click on "Add Element" and start building your page. You can read more about elements in the Custom Shortcodes section of this user guide.

Finally, click the "Update" button in the bottom left underneath the left sidebar. (If you made some changes on already published page, "Update" button will highlighted.
Please note that Conat comes with two font icon packs: Font Awesome and Font Elegant. You can see an overview of all the available icons in both of these icon packs at the following links:
To create a new blog post, go to Posts > Add New from the admin panel.

Enter a title for your post in the text field add content and click on publish button.

Now that you've set up your blog post, let's go over the custom fields.

You can access CONAT Options from the WordPress admin panel. The settings found here are applied globally and will affect all pages of the site. However, note that many of these options can be overridden locally by applying settings on individual pages or on shortcode elements.
This section allows you to set up general settings for your site that will affect its look and functionality. The Design Style section has options for setting fonts, colors, and layout. The Settings section has options for page transitions, animations, scrolling, and more. The Custom Code and SEO sections are where users can add their custom code and SEO settings.

This is where you can upload your website logos.
![]()
The logos displayed on your page are limited in size by header height. For example, if you logo add your own size then you can add size in logo dimension with width and height in Pixel, Emphasis and Percentage.
You can add favicon on your site here you can upload Favicon with size 16x16 pixel.
This section allows you to set up the header area. The first choice to make is whether you'd like to have a top menu or menu navigation. You can then optionally enable a search bar, address, phone number, email address, working hours, side area and header top area. Each of these can be customized with text and content.

This section allows you to set up the footer area. There are two footer sections that can either be hidden or shown: the footer top and footer bottom. The footer top in subscribe for newsletter. The footer bottom is a simple section at the bottom of the page and is meant for placing copyright text.

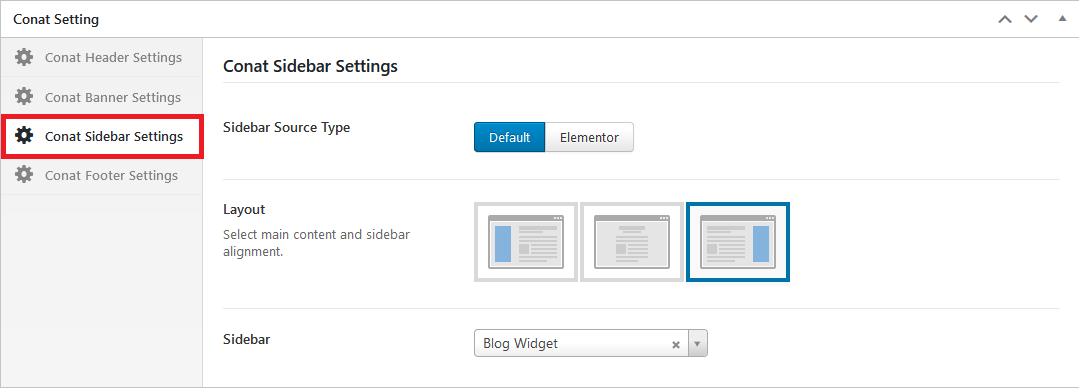
Blog Page Settings This section allows you to set up page banner background, title and content sidebar direction, sidebar widgets.

Tag Page Settings This section allows you to set up page banner background, title and content sidebar direction, sidebar widgets.

Archive Page Settings This section allows you to set up page banner background, title and content sidebar direction, sidebar widgets.

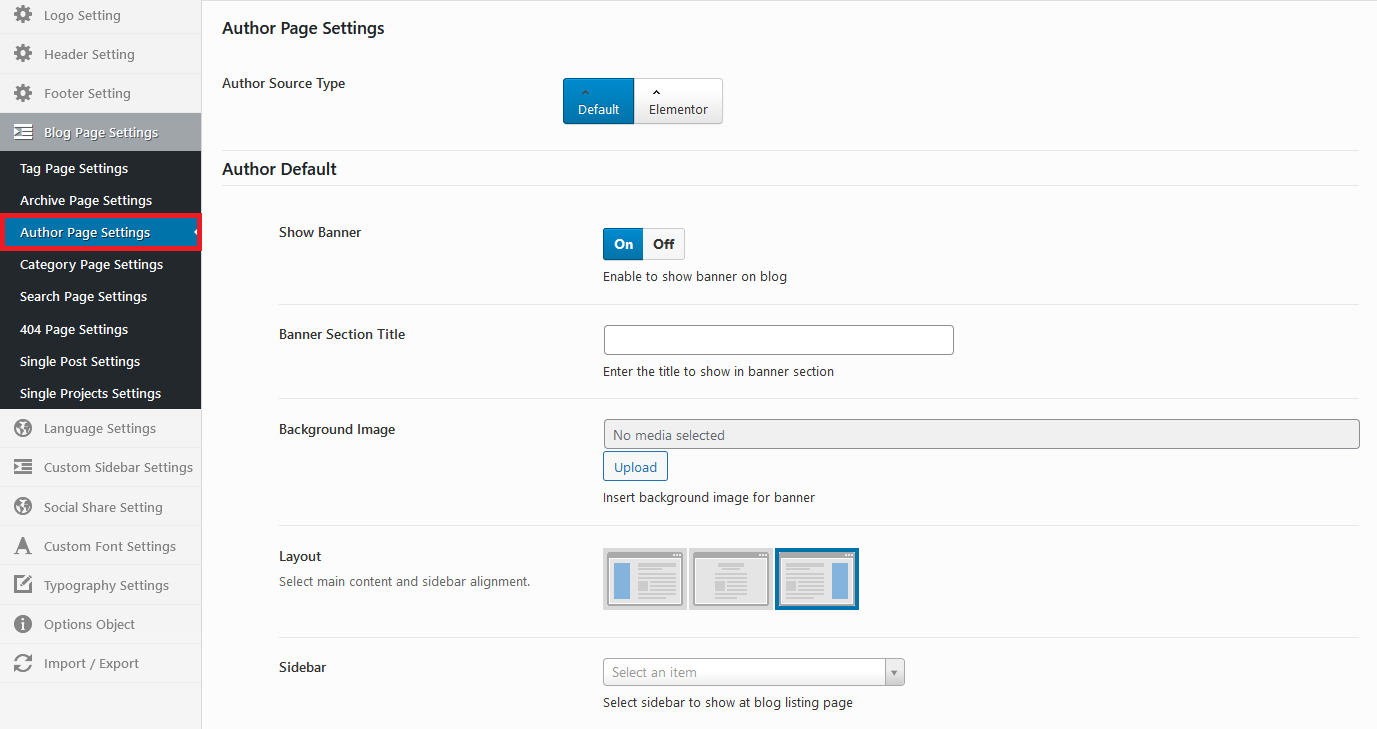
Author Page Settings This section allows you to set up page banner background, title and content sidebar direction, sidebar widgets.
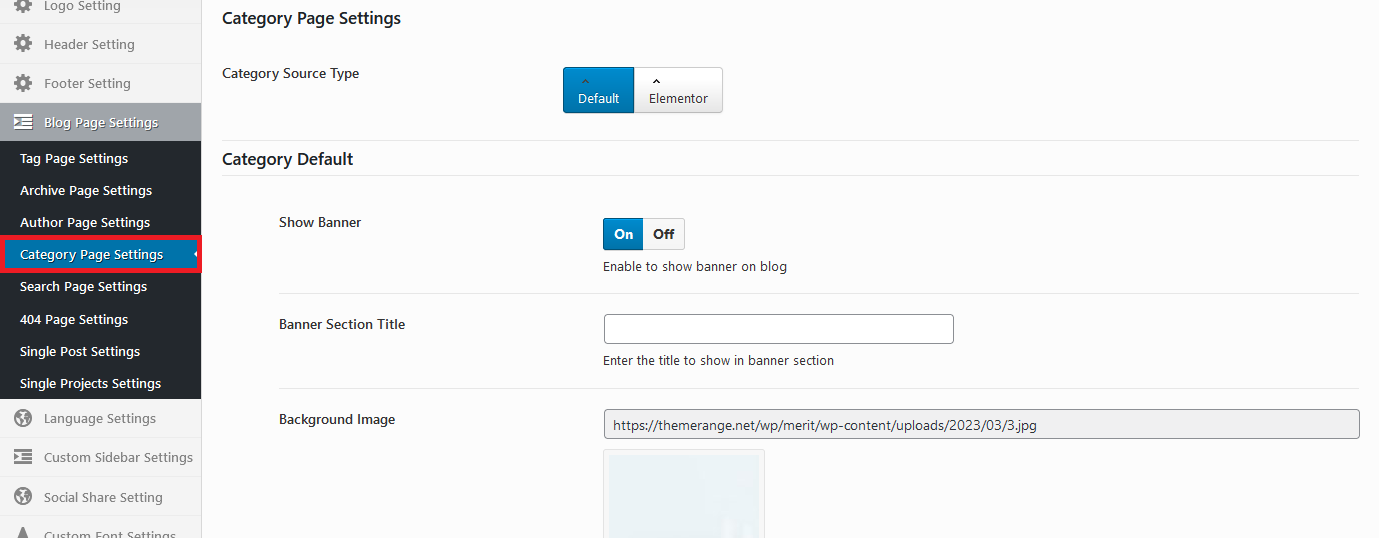
Category Page Settings This section allows you to set up page banner background, title and content sidebar direction, sidebar widgets.
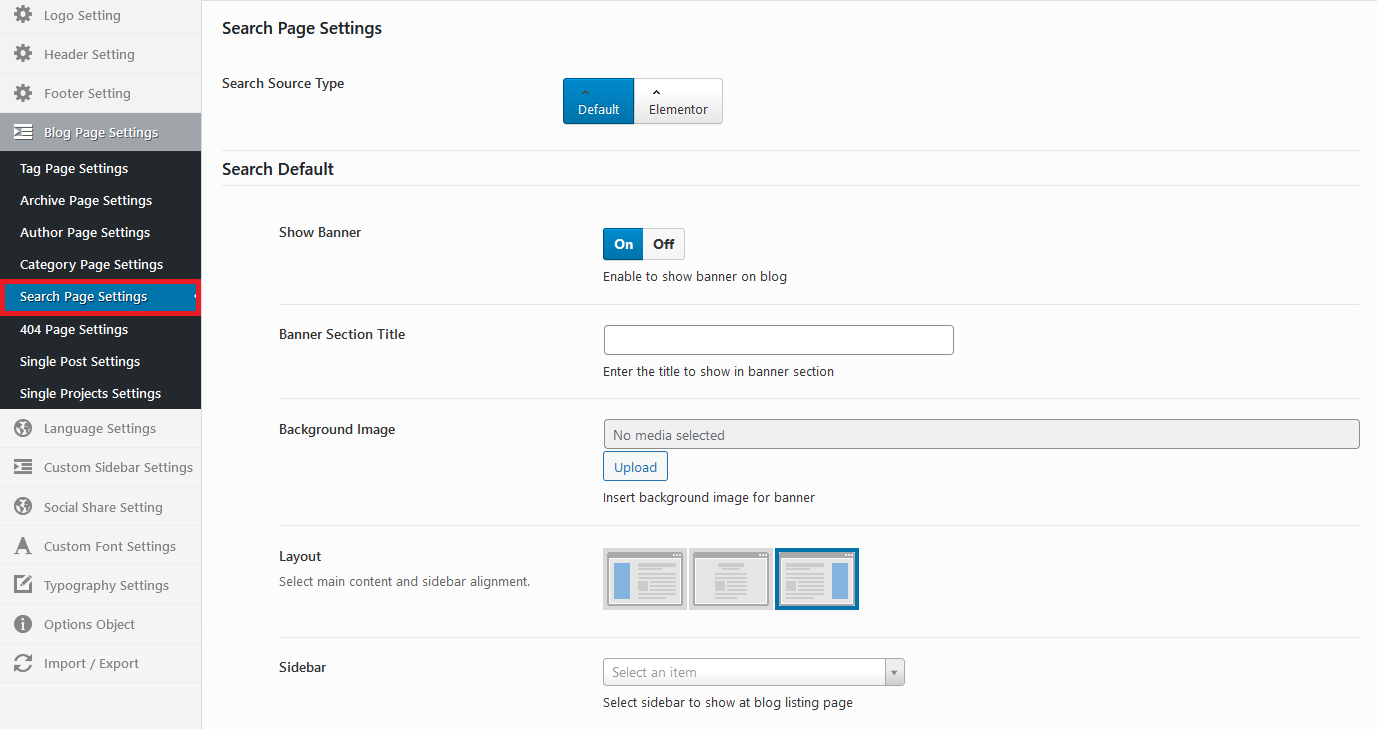
Search Page Settings This section allows you to set up search banner background, title and content sidebar direction, sidebar widgets.
404 Page Settings This section allows you to set up 404 page banner background, title and content details.

Single Post Settings This section allows you to set up hide or show Author Box, Next and Previous, Tags and Social share icons.

This section allows you to add language file on your theme for language change.

This section allows you to set up new widgets.

This section allows you to set up social media icons on your whole site.

This section allows you to set up font properties for different elements on your site, which is essential for achieving a consistent design.

This section allows you to set up font properties for heading elements on your site, which is essential for achieving a consistent design.

This section allows you to set up font properties for body elements on your site, which is essential for achieving a consistent design.

This section allows you to import and export theme options content. Import file will be provided in theme file where you can download from themeforest after purchase in dummy content folder.

When creating a new page, one of the first things you might want to do is to assign an appropriate template for it. To do this, go inside the page backend and locate the section on the right called Page Attributes. Conat comes with a variety of templates to choose from:
To create a new doctors item, go to:


Under the Doctors Categories section are the Featured Image sections. In Attributes, you can type in the order in which you'd like this doctors item to appear in doctors lists. In Featured Image, you can upload an image to be displayed for this item on doctors lists.
Now that you've set up your doctors item, let's go over the elementor builder for details.

To create a new testimonials item, go to:


Under the Testimonials Categories section are the Featured Image sections. In Attributes, you can type in the order in which you'd like this testimonials item to appear in testimonials lists. In Featured Image, you can upload an image to be displayed for this item on testimonials lists.
To create a new faqs item, go to:


Under the FAQs Categories section are the sections. In Attributes, you can type in the order in which you'd like this faqs item to appear in faqs lists to be displayed for this item on faqs lists.
Widgets are easy to manage and can be incredibly useful to have on your site.
For Conat, we've developed custom widgets and widget areas to give you even more functionality. You can also create multiple custom sidebars.
To create a new custom widget, go to here.
Here is our total widgets for site own widgets functionality.


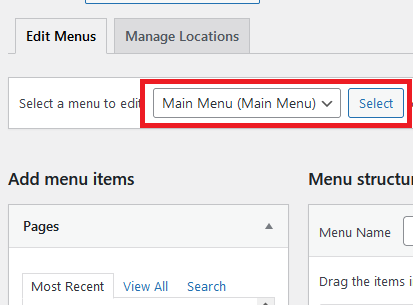
To start creating your menu, go to Appearance > Menus from the admin panel.

At the upper left corner you'll see 2 tabs: Edit Menus and Manage Locations.

In Manage Locations, you can assign menus to two different locations: top navigation and fullscreen navigation. If using the Sticky Divided header type, you'll see two other locations: "left top navigation" and "right top navigation" (these locations apply to that specific header type).
Now let's go to Edit Menus. At the bottom of the page, in the section Menu Settings, you're also able to assign the current menu to a location.

When creating a menu, you can click on the little triangle on each menu item in order to open up a list of editable settings.

Let's go over them:
To start creating your shortcode, go to Page > All Pages > About Us from the admin panel.
Here you can go elementor builder after admin login to specific page.

In the left side you can find the Conat tab for custom shortcode.

Conat makes it possible to create forms for various purposes with the help of Contact Form 7.
In order to setup Contact Form 7, please perform the following steps:
Now when you use Elementor Builder, you will see a new shortcode in the list of Conat tab - Contact specific shortcode.


Please remember you have purchased a very affordable theme and you have not paid for a full-time web design agency. Occasionally we will help with small tweaks, but these requests will be put on a lower priority due to their nature. Support is also 100% optional and we provide it for your connivence, so please be patient, polite and respectful.
Please visit our support forum or ask question @ThemeRange